
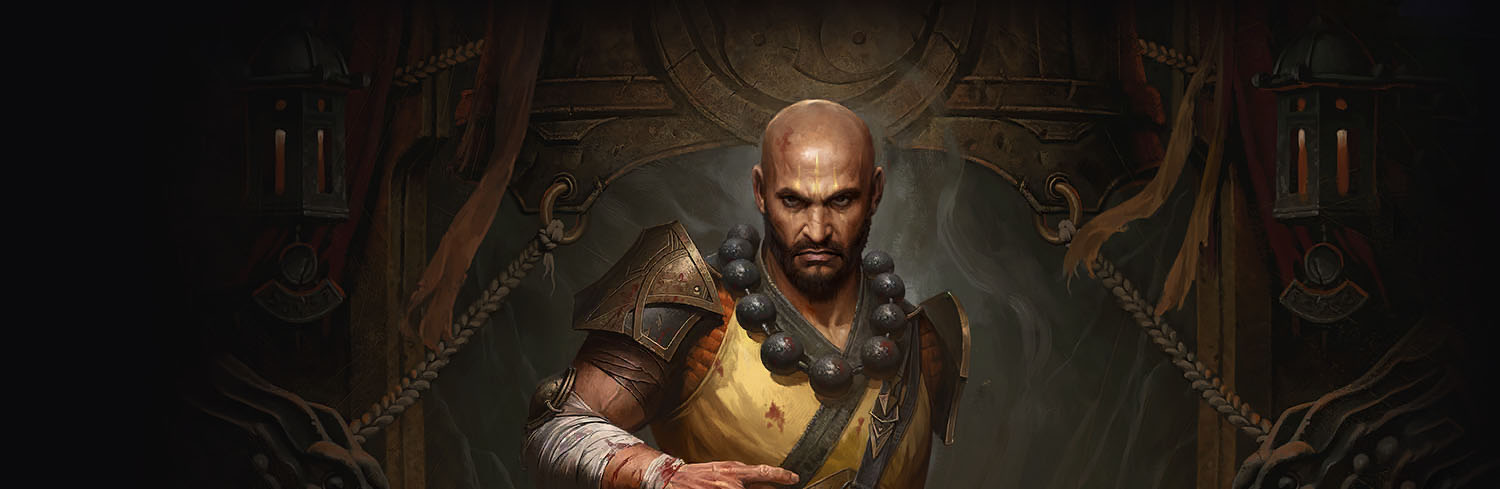
 Monk
MonkJudy Chops: Relentless Fist PVE Monk
A fast-paced PvE Monk build focused on chaining powerful melee abilities for sustained damage against groups, elites, and bosses. Mystic Allies adds consistent pressure while Imprisoned Fist, Seven-Sided Strike, and Flying Dragon deliver repeated bursts of area damage and battlefield control. Designed with low-spend and newer players in mind, the build keeps the rotation straightforward: unleash your abilities together, maintain pressure with Deadly Reach, then repeat the cycle as your cooldowns become available. A versatile setup for Open World farming, Elder Rifts, Challenge Rifts, Dungeons, and Raids without requiring a complicated rotation.
In-game loadout
Each skill, gear piece, gem, set item, and progression recommendation exposes its associated game data directly inside the interactive loadout.
Skills
Primary + 4 skills




Legendary equipment
Equipped essence by slot
Set equipment
Secondary slotsLegendary gems
Socketed ranks and investmentHow the build plays
How to play it
- This build revolves around short, aggressive burst cycles followed by sustained pressure with Deadly Reach.
- Start by activating Mystic Allies, then engage with Imprisoned Fist and follow with Seven-Sided Strike and Flying Dragon. Once your main skills are on cooldown, continue attacking with Deadly Reach while repositioning and preparing for the next burst window.
Rotation & priority
- Mystic Allies → Imprisoned Fist → Seven-Sided Strike → Flying Dragon → Deadly Reach
- Try to use the major skills together rather than firing them randomly as soon as they become available. The build performs best when its cooldowns are grouped into repeatable burst windows.
- Against weaker enemies, don't waste the entire rotation if the pack is already dying. Finish survivors with Deadly Reach and carry the remaining cooldowns into the next group.
Positioning
- This is an aggressive melee-oriented setup, so you generally want to fight inside or immediately around the enemy pack, not poke at enemies from the edge.
- Approach larger groups, activate Mystic Allies, then use Imprisoned Fist to commit to the fight. Once enemies are clustered around you, follow with Seven-Sided Strike and Flying Dragon for the main damage cycle.
- Against bosses and dangerous elites, stay close enough to maintain pressure but don't plant yourself in one position. Move around damaging ground effects, telegraphed attacks, and other hazards while continuing to use Deadly Reach between cooldowns.
- For farming, try to gather several enemies before committing your major abilities. The build becomes much more efficient when one rotation damages an entire group rather than only one or two targets.
Strengths
- The biggest strength of this setup is its ability to deliver strong burst damage against grouped enemies while remaining simple to play.
- It performs particularly well in content where enemies naturally cluster together, including:
- Open World farming
- Elder Rifts
- Challenge Rifts
- Dungeons
- Dense elite packs
- General PvE progression
- The rotation is straightforward and doesn't require complicated timing to begin using effectively.
- Mystic Allies adds additional pressure while your Monk continues attacking, and Deadly Reach gives you something productive to do between major cooldowns rather than simply waiting for abilities to return.
- The build also works well as a lower-spend setup because its basic combat loop doesn't depend on extremely complicated mechanics.
Weaknesses
- The build relies heavily on getting good value from its major cooldowns.
- If you use Seven-Sided Strike or Flying Dragon on enemies that are already nearly dead, you may enter the next encounter without your strongest abilities available.
- Because the build prefers fighting at close range, positioning mistakes can also be punished more heavily than with ranged setups.
- Single-target damage can feel less explosive when your major skills are unavailable, particularly during longer boss fights.
- The build is also less effective when enemies are spread out, constantly moving, or forcing you to disengage.
- Finally, using every ability immediately when it comes off cooldown can cause the rotation to become fragmented. Once the cooldowns become staggered, the build loses some of the impact of its coordinated burst windows.
Counters
- The build is less comfortable when enemies constantly force you out of melee range or move faster than you can maintain pressure.
- Highly mobile targets can make it harder to land a complete burst sequence, especially if they move away after you've already committed several cooldowns.
- Enemies with frequent knockbacks, crowd control, immunity phases, or dangerous melee-range attacks can also interrupt the normal rhythm of the build.
- During boss encounters, avoid using the full rotation immediately before an immunity or transition phase. Holding your cooldowns for a few seconds is better than losing the entire burst window.
- The build can also struggle when fighting isolated weak targets because much of its value comes from hitting clustered enemies with multiple abilities.
Substitutions
- Substitutions should be based on the activity you're running rather than treating every skill and essence as mandatory.
- For faster farming, favor options that improve movement, mobility, or AoE coverage. Killing slightly slower but moving between packs significantly faster can improve overall farming efficiency.
- For boss-focused content, consider replacing abilities or essences that primarily benefit large groups with stronger sustained or single-target options.
- For higher-difficulty Challenge Rifts, defensive substitutions may be more valuable than additional damage. Survivability becomes increasingly important once enemies can punish you for remaining in melee range too long.
- If you're consistently dying during the initial engagement, prioritize survivability or mobility before adding more damage.
- The core concept to preserve is:
- Engage → burst → maintain pressure → reposition → repeat.
- Individual skills or essences can change as long as the replacement still supports that combat loop.
Creator notes
This build is intended to be straightforward, aggressive, and easy to pick up without requiring a complicated rotation.
The goal is not to perfectly time every ability down to the second. Instead, focus on grouping enemies, committing your major abilities together, and maintaining pressure with Deadly Reach while your cooldowns recover.
Don't feel like you have to use the entire rotation against every pack. If enemies are already dying, save whatever abilities remain and carry them into the next fight.
Likewise, don't be afraid to delay a cooldown briefly if waiting allows several major abilities to line up again.
For newer players, start with the basic rotation and get comfortable with the movement and engagement style first. Once the build feels natural, begin paying more attention to cooldown synchronization and choosing better moments for each burst cycle.
Game image credits
- Blizzard Entertainment
- Slayers Inc.